Messing around with Messerschmidtts

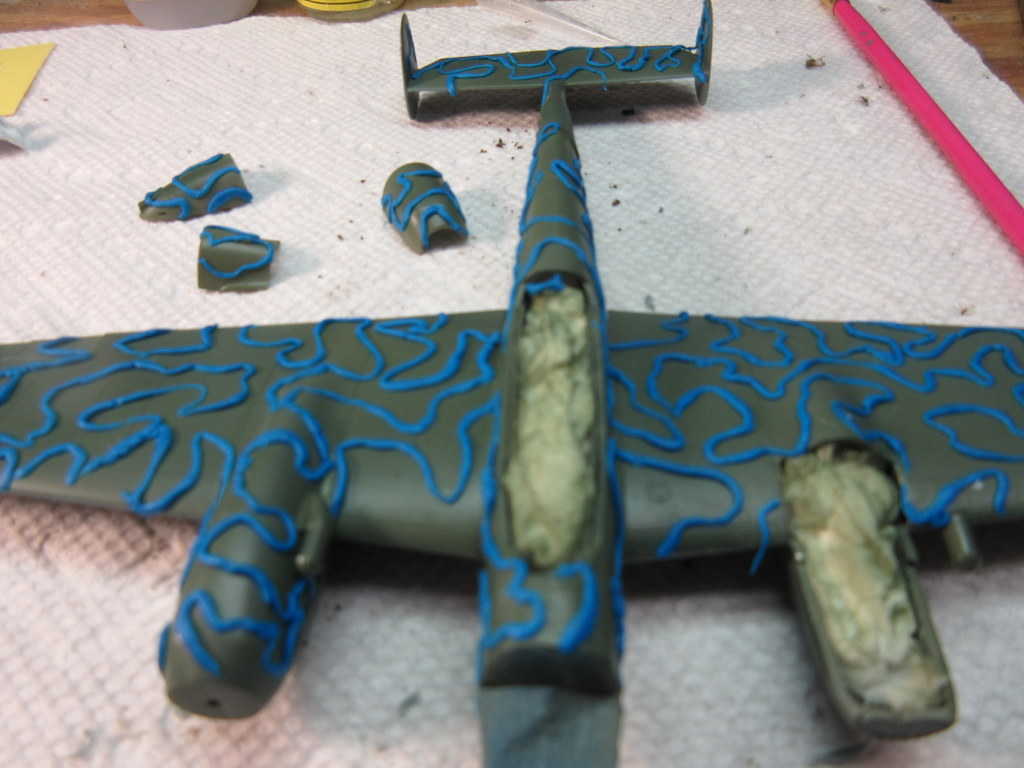
In my last post I was working on putting squiggles on a 1/72 Bf-110.  Even though the true camo calls for some very tight olive squiggles on sand I  decided to play around with Blu-tack and create some myself.  It was very hard to roll this stuff out fine enough to duplicate the real camo so I decided to go for more of a relaxed look.  I think the very tight squiggles in 1/72 would probably need to be done with an olive colored wide pen.  Need to experiment more at some point but for now I am just trying to move the kit the along.

Here it is with a couple of coats of Future.  I’m waiting for the Future to cure then decals.

IMG_1249  IMG_1250

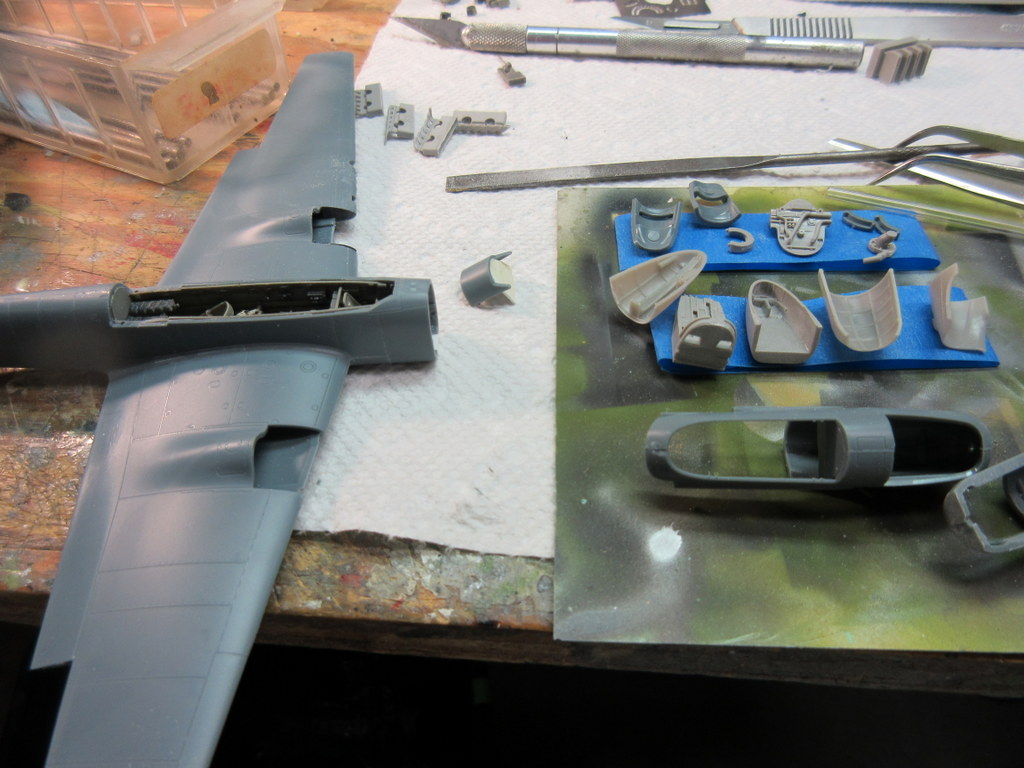
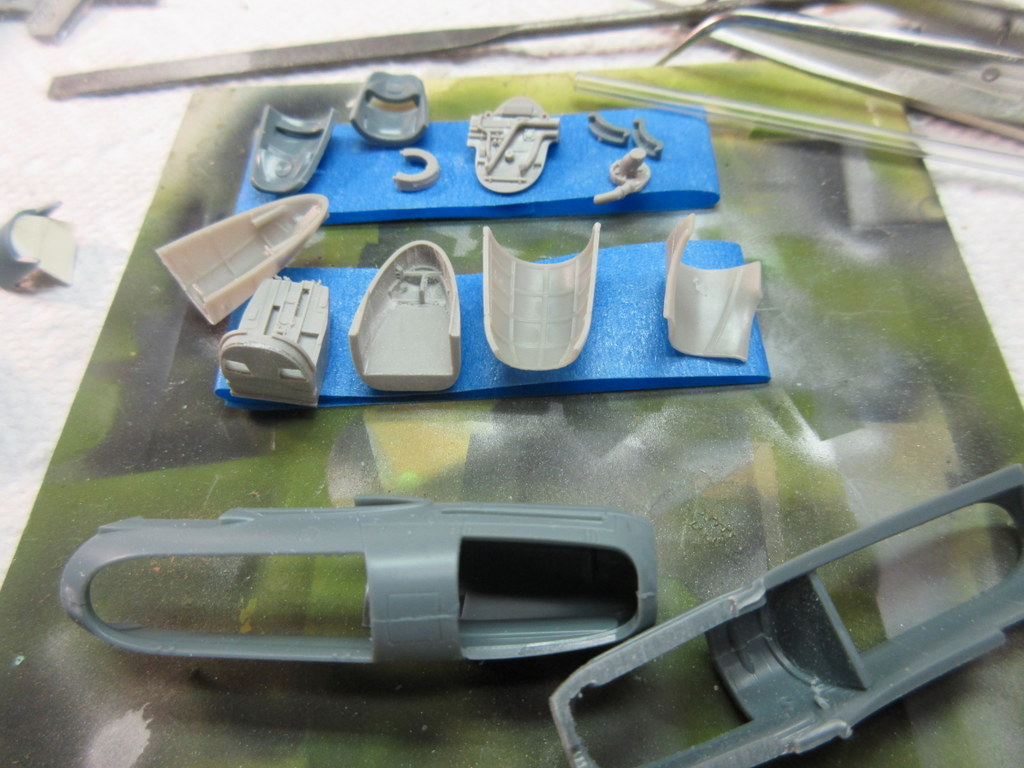
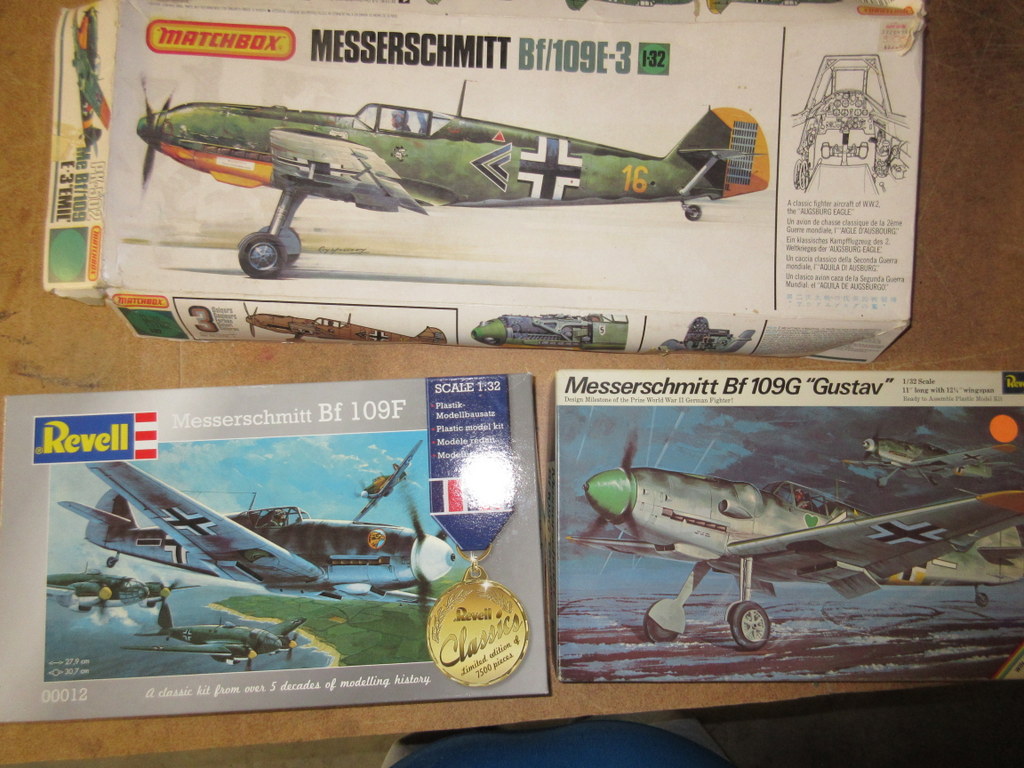
In the meantime I’ve started my next big build of Messerschmidts.  I mean big it is.  I’m normally not a 1/32 scale guy but I’ve had these kits hanging around for awhile and I’m ready to build them;

IMG_1054

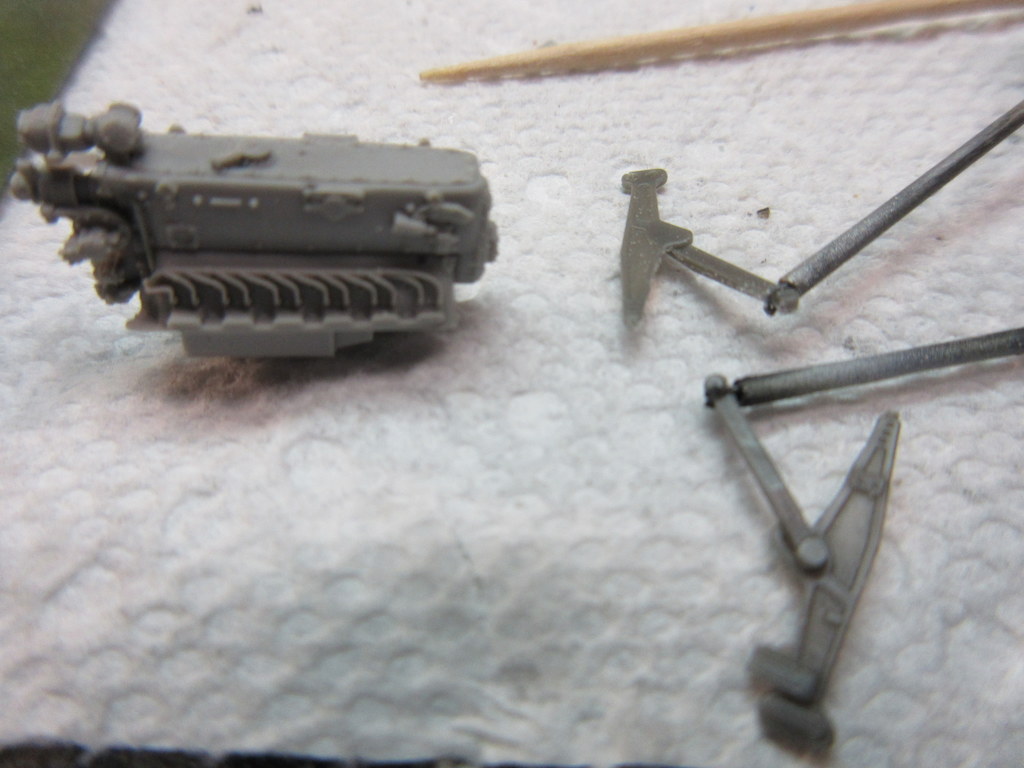
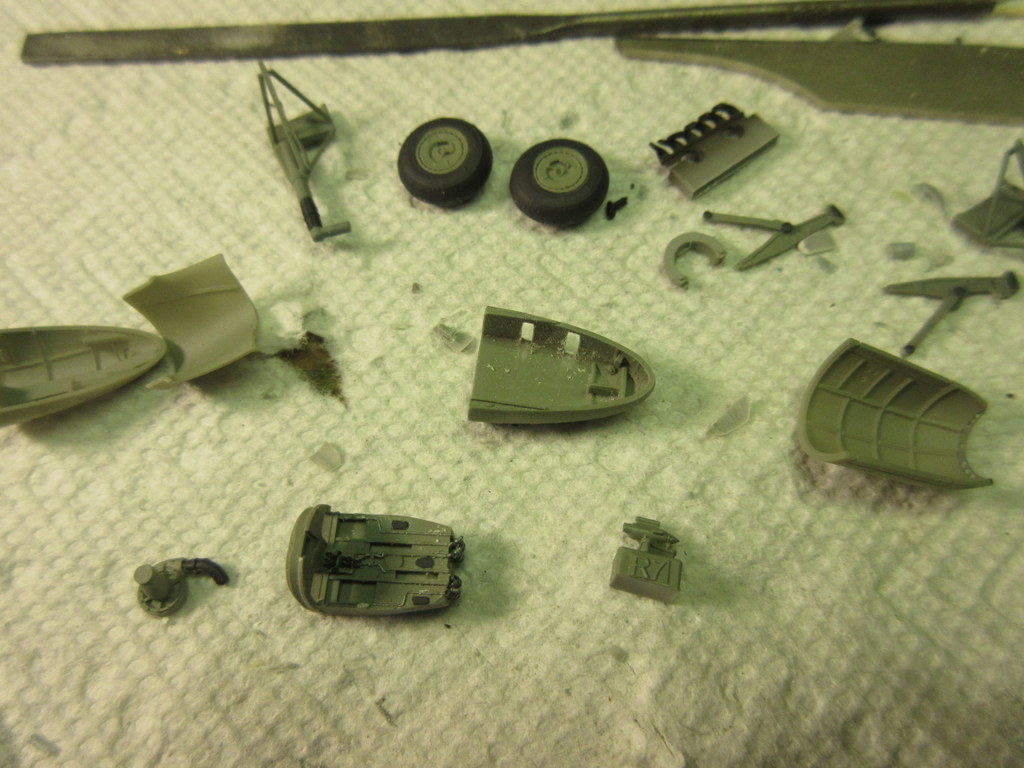
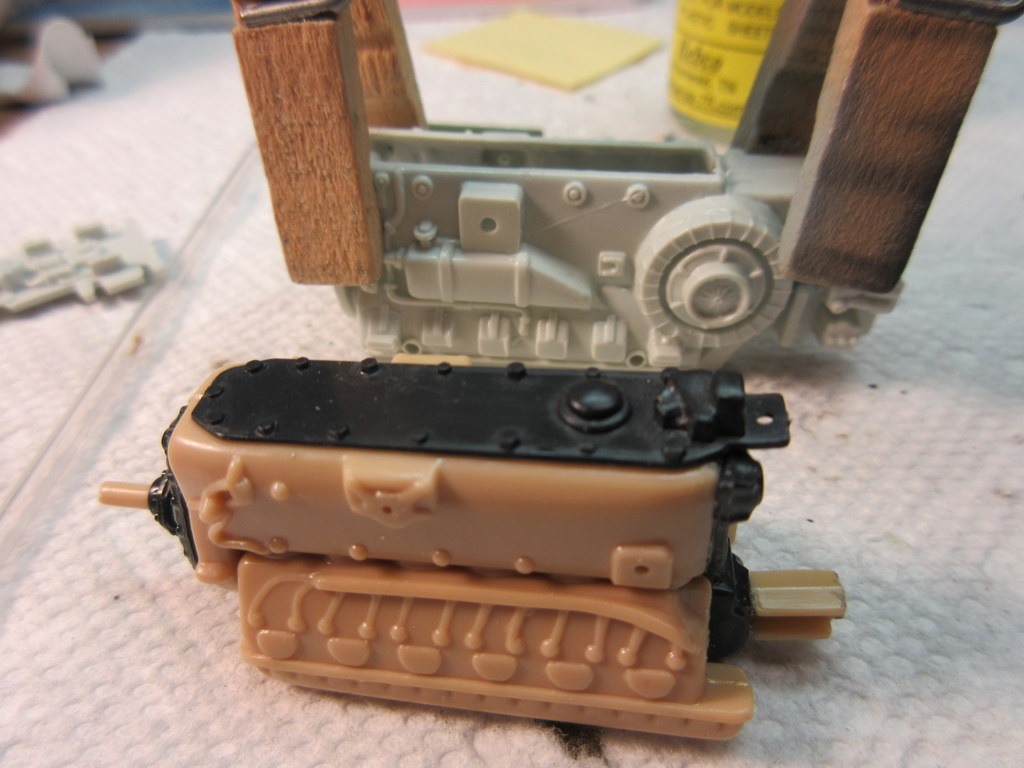
Starting with the engines of each, the Matchbox 109E kit has about 25 parts associated with the engine.  The parts come in all assorted colors of of multiple trees but once it is paited you’ll never see it.

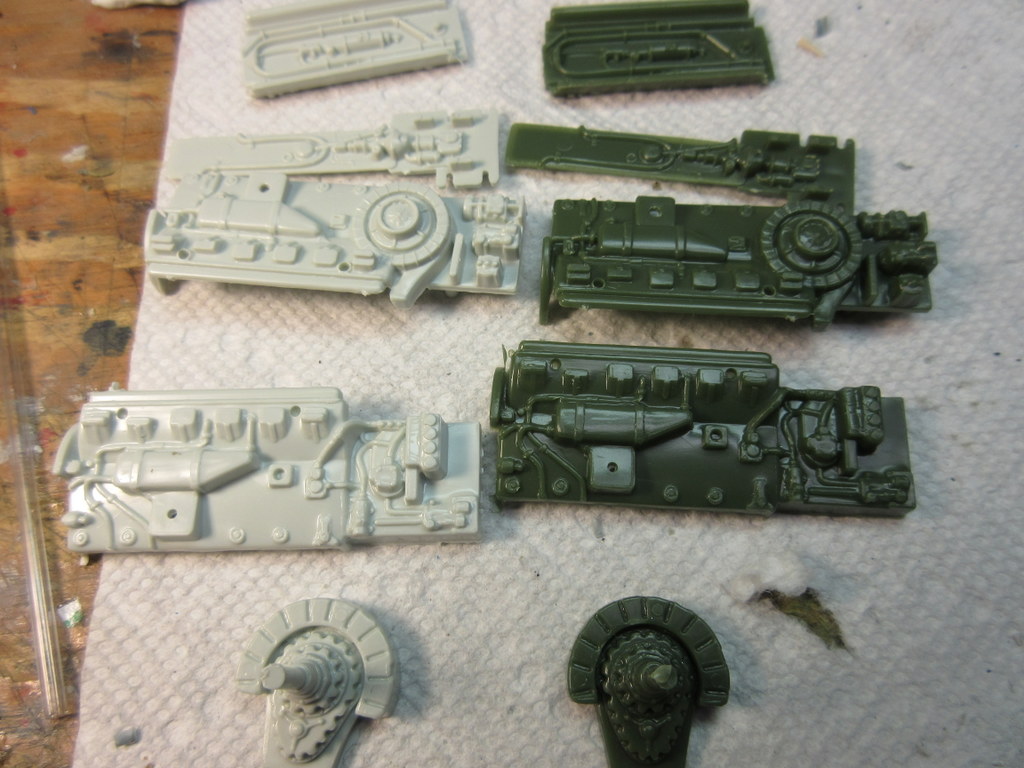
The other two have exactly the same parts for the engine although different colors, probably 30 years apart, and strangely on different sprues.  Also note the relative size of the Matchbox 109E engine compared to the Revell 109F/G engines.

IMG_1247   IMG_1246

IMG_1248   IMG_1251

Sadly while looking through the old Revell 190G kit I noticed that it does not contain a propeller or spinner.  Looks like I got the old eBay stiff a ways back and just now am catching on.  But adversity presents challenges.  I think I am going to have to figure out how to resin cast the prop and vacu-form the spinner.  Time will tell the the “G” is propless.


Messerschmitt squiggles

I’ve been working on the third Eduard Bf-110 I’ve built this summer and I am working on the desert scheme.  The decals for this kit from Owl show a very fine sets of squiggles; olive over sand.  Other than getting an olive colored pen and drawing them on I’m not sure I get them as fine as the pictures in 1/72 but I am trying something new.

IMG_1182

My newly discovered fondness for the blue poster tack has led me into rolling this into fine strings and using this to mask the squiggles.  After painting the kit Olive I am rolling this and adding it to the kit.  Once I get it all done I will clean it up a bit with some tweezers and spray sand.

IMG_1183   IMG_1185

The main issue I have is that it is about 85 in the garage tonight and it make the blue stuff really tacky so it sticks to everything but the model.  But it’s starting to look good.

Third Bf-110 is underway

I am building the third Bf-110 in a row.  I’m inspired by a fellow blogger who builds multiple kits of the same kind at the same time, recently a bolt load of A-10s.

This is another Eduard, got it cheap on Squadron.  I am using the Eduard Big Sin set for this; it comes with a cockpit, engine, wheels, and open nose armament.  All the casting are great and the fit of the kit is precise and the resin fits perfectly.  I don’t know how many times I’ve wrestled other company’s resin sets into a fuselage.

I finished the last two 110s in night fighter schemes, this one will go into a desert scheme with another OWL deal sheet.  Looking forward to getting to painting but I have been steady on the airbrush building and painting a lot of sub components.  Hopefully ready for camouflage this coming weekend.

IMG_1048   IMG_1049   IMG_1050   IMG_1052   IMG_1051   IMG_1053

I’m gearing up for the big event in the Summer of Messerschmitt.  After the 110s are done I am going to build 3 1/32 scale Bf-109s; and E, F, and G at the same time.  A couple of these are old and I don’t plan on doing any re-scribing, filling, sanding (well maybe a little), or weathering.  These are going to be out of the box.  I have a set of decals that cover all three from AML.

IMG_1056  AMLD32003 JG 5 over the Far North AML 1-32