Haven’t posted for a bit because it is summer, when all of us hobbyists suddenly find outside activities to do. I keep trying to get back to the Fw-190 but I keep finding other things to do; refinishing a wooden toy box, evening walks, mowing the lawn, motorcycle, etc.
But I got back to the Fw-190 this weekend and made progress.
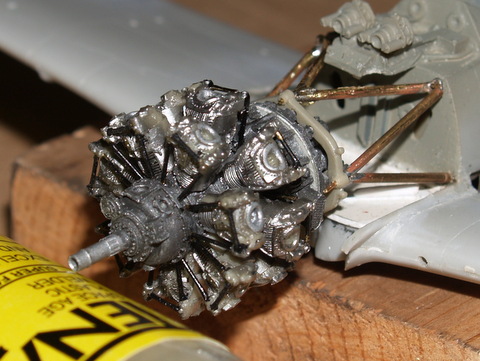
The goal is to scratch build a BMW801 engine mount by soldering brass rod together in the right pattern. When we last left our heros we had just a few more parts to go.
The difficulty is trying to figure out the right angle to solder two of the rods together. Up to this point I had been sort of guessing but with each progressive piece it was getting harder to keep it all alligned. And then it struck me.
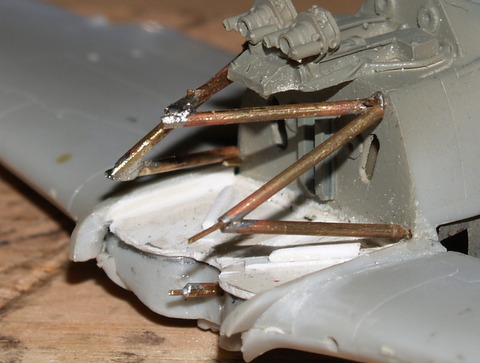
What I did to maintain the right position was to place what was done in the right postion using small brass “pins” in the plastic to hold things in place. While holding the next piece in it’s correct orientation, I super glued a small piece of styrene between the two rods, and that held the new piece in place until I could remove the rods and solder them together. This worked beautifully on the left side, here is a picture of the setup.

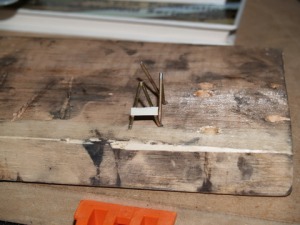
This worked great on the left side. My trouble began as I used the same approach on the right side; set up new piece, super glue styrene piece across to mainting angle. However, the angle I used to solder the brass caused the torch to catch the styrene piece on fire. This in turn, being right under another solder joint, proceeded to unsolder that other joint and the whole thing fell apart. That ended yesterday’s modelling session.
But today, success! Using the same approach I was able to complete the soldering with everythinhg alligned.


Next steps will be doing some cleanup, filing, and then some milliput on the ends to form and imitate the end points. Stay tuned.